Orange Boot Bakery

Hand Made Loaves & Sweets from Scratch

  • Orange Boot Bakery
  • Our Story
  • Join The Baker’s Bench
  • Blog
  • Contact
  • My Account
You are here: Home / Archives for Mark

March 2, 2017 by Mark Leave a Comment

When Baking Bread, Dough Temperature Really Matters

Whether you’re reading a good bread baking book or going through the Learning Loaf course, I’m sure you’ve noticed a lot of references to dough temperature. Depending on the author, they are shooting for a temperature of between 75F and 82F (24C and 28C) when the dough is finished mixing.

So how important is dough temperature, really? The short answer: VERY IMPORTANT!

I can’t really think of anything that is easier to control and which pays the biggest dividends to get right. Hit your dough temperature and you can relax and focus on the rest of the baking process in a controlled manner. Miss your temps and you’ll be stressing through the rest of the bake.

Why Dough Temperature Matters

Dough Temperature = Time. It’s that simple really. Keep your dough in the correct temperature zone and the yeast (or sourdough culture) in the dough can feed at the optimal rate. Fermentation is predictable and your bake day is predictable.

When your dough is too cold, the yeast slows right down. A bulk fermentation step that should take 1.5 hours can take 3 or even 4 hours.

When your dough is too warm, fermentation accelerates. The enzymes in the flour don’t have enough time to break down the starch in the flour, so your loaf won’t taste as awesome as you’d like. And if you don’t recognize the issue, your dough will be over fermented when you try to shape it, causing challenges at that stage too.

The problem magnifies if you’re trying to bake several batches of dough at a time, whether in a bakery or in your home oven. Inconsistent dough temperatures will wreck your day. The oven sits empty while you wait for a cold dough to finish proofing, then two batches are ready to bake at the same time. Not good.

How To Get Your Dough Temperature Right Every Time

The good news is that it’s relatively easy to nail your dough temperatures every time. All you need is three things: a thermometer, a formula and some arithmetic.

Thermometer

If you bake with yeast, it’s well worth getting a good digital probe thermometer. A good one will cost you around $30 and is worth it. Wholesale club, Costco and restaurant supply stores all carry them, or you can go online too.

Make sure the thermometer you buy has a digital readout (for accuracy) and is waterproof (because you will drop it in water, guaranteed.) And if the range goes above 400F, you can use your new tool for other things like taking internal temperatures for meat and bread, or making sure your fry oil is the right temperature for doughnuts.

My favourite dough thermometer. Couldn’t live without it.

The Dough Temperature Formula

There are four or five things that affect dough temperature:

  • Room temperature
  • Flour temperature
  • Preferment/starter/soaker temperature(s)
  • Mixing Friction (Your dough temperature will rise through the effort of mixing.)
  • Water temperature

You don’t have much control of the first four items on that list. But you usually have control of your water temperature. So our Dough Temperature Formula will calculate the desired water temperature based on the temperature of the other items.

Here’s the formula:

[DesiredDoughTemp * #OfFactors] – [RoomTemp+FlourTemp+PrefermentTemps+FrictionTemp] = WaterTemp

Trust me, it’s easier than it looks. Let’s break it down.

DesiredDoughTemp: What you want your final dough temperature to be. I use 75F for dough with commercial yeast and 78F for sourdoughs. Using both? Go with 78F then.

#OfFactors: How many variables other than water do you have? At minimum, this is 3 (room, flour, friction).

Using a preferment? That’s 4. Preferment and a soaker? That’s 5.

RoomTemp: Room temperature. I keep my thermometer near my mixing bench and use the temperature right after I turn it on. But maybe you have a thermometer on the wall.

Taking the room temperature. Make sure you’re not touching the probe, or you’re measuring body temperature!

FlourTemp: Temperature of your flour, of course! I just plop my thermometer right into the middle of the flour after it’s scaled out and take the temperature.

PrefermentTemp: Same as the flour; just take a temperature right in the middle of your preferment and/or soaker.

Friction: This is something that you’ll learn over time, based on trial and error. I start with a friction factor of 25F when I’m testing a new mixer or new technique. If my dough is cool, I’ll use a lower friction factor next time. Too hot means I’ll raise the friction factor.

The Arithmetic

Here’s what I do:

  1. Multiply DDT * #OfFactors. I call that my “magic number” and I usually have it memorized. (But I’m like that. Calculate it every time if you need to!)
  2. Take my ingredient temperatures and add them up.
  3. Subtract the temps from the magic number to get the water temperature.

I try to get the water temperature within 1-2 degrees of my target.

Once I mix the dough, I take the temperature of the dough to see how I did.  If I’m way off, I’ll adjust friction next time.

An Example:

Let’s say I’m mixing a Crusty White Loaf in my basement mixing room in winter. It’s a yeasted loaf with a prefermented dough. Here’s what I know:

DDT: 75F

#OfFactors: 4 (room, flour, preferment, friction)

Steps:

  1. My magic number is DDT * Factors = 75 * 4 = 300
  2. I take all my ingredient temps
    A) Room = 65F (blissfully cool!)
    B) Flour = 65F (it’s been sitting in the mixing room for a week now so that makes sense)
    C) Preferment = 55F (I had it in the fridge and it’s still warming up)
    D) Friction = 25F (I expect the temp to rise 25F through the effort of mixing.)
  3. Add them all up. 65 + 65 + 55 + 25 = 210
  4. Subtract! 300 – 210 = 90

So my water temperature is 90F. If I use 90F water I can expect my dough temperature to be right around 75F after mixing.

Another Example

This time, I’m going to mix my Country Sourdough, but at the bakery in summer. It’s much warmer at the bakery than in my basement at home. How does that affect things?

DDT: 78F (Sourdough cultures like it warmer)

Factors: 4

  1. Magic Number = 78 * 4 = 312
  2. Ingredient Temps:
    A) Room: 72F (it’s early morning – not too hot yet!)
    B) Flour: 75F
    C) Sourdough Culture: 75F (I mixed it warmer last night but it’s cooled off)
    D) Friction: 20F (friction factor for my big spiral mixer)
  3.  Add them up: 72 + 75 + 75 + 20 = 242
  4.  Subtract! Water Temp = 312 – 242 = 70F

So if I use 70F water, I can expect my dough temperature to be 78F, right where I want it.


Hopefully through these two examples, you can see that you can’t trust a recipe that simply says “use tepid water.” There are too many assumptions in that instruction!

Over the course of a year, we would routinely use 90F water in winter, when everything was cold in the shop and then have to keep water in the cooler overnight to get 55F water in the summer time. Even tap water wasn’t cold enough in summer.

Help! My Dough Temperature Is Off

So even though you’ve followed all the steps, your dough temperature is off. What do you do?

First, don’t panic. You need to adjust a few things, but all will be fine. The good news is you KNOW you have a challenge, right at the start!

If your dough is too cool, think warm thoughts. Put the mixing bowl in the oven with the light on. Wrap it up with blankets and put it in the warmest room in the house. Adjust your schedule to account for a longer fermentation period – maybe double your expected time or even more.

During the proofing phase, make sure the loaves proof in a warm, draft free area. Keep as much warmth around the loaves as possible.

The #1 thing with cool dough is to be patient. Things are going to take a while, so don’t rush it. Make sure your dough is properly fermented before dividing and shaping.

If your dough is too warm, get ready! Things are going to move a little quicker than normal. Place the dough in a cool area and hope for the best

If your dough is way out of the zone (90F or more) you can pop the dough in the fridge, but be careful. With large batches, the outer parts of your dough will cool off but the centre will be warm for a long time. And with small batches, be sure it doesn’t cool off too much!

Bottom line is if you have a temperature issue, stay on top of things. Take a temperature from time to time to see where your dough is at. Especially with small batches, the dough can get cold or warm quickly, so you may have to move more than once.

No matter what, if your dough temperature is off, consider why it happened. Was it a simple miscalculation? (It happens to all of us.) Or does your friction factor need adjusting next time?

Final Thoughts:  Happy Yeast Is Happy Bread

Whew! You made it to the end. Good for you.

Dough temperature is one of two bits of arithmetic (the other is baker’s percentages) that turn many an eager bread baker into grumpy, bitter cake bakers. Or, heaven forbid, cooks.

Hang in there, baker friend. You can do this. Remember, you’re doing all this number crunching to keep your yeast happy. Happily eating sugar and making CO2 and raising your bread. Help them out.

Bakers are craftspeople and artists. Scientists and stewards. Stewards of yeast. Happy Yeast = Happy Bread = Happy Bakers.

Do a little bit of work with a pencil and a calculator and the yeast will do the rest of the work for you. At least until it’s time to divide and shape.

You deserve a sip of coffee during the bulk fermentation stage, instead of running around looking for a cool or warm place for your off kilter dough. So do the math and enjoy the brew.
Filed Under: Tips & Tutorials Tagged With: Dough Temperature, Thermometer, Troubleshooting

February 22, 2017 by Mark 2 Comments

4 Things I Learned by Hand Mixing Bread Dough

I’m used to mixing bread dough with a mixer. But recently I started baking with my brick oven again and I don’t have a mixer available. Now I’m hand mixing bread dough in large plastic tubs and boy, am I ever learning a lot.

I’ve used home stand mixers for single loaves and big spiral mixers to mix 60 loaves at a time. But no matter what machine I used, I didn’t really think too much about the mixing process. Mix on first speed until all the loose flour is off the bottom of the bowl and then mix on second speed until the gluten is properly developed.

But something changes in the baker’s awareness when you’re forced to really feel the dough. Your hands grow more nerve endings or something. All I know is I start to feel things at a different level. As Lionel Vatinet says in his book:

“Remember, your hands are your memory – pay attention to the feel of the dough as it comes together” – Lionel Vatinet

After mixing a few dozen batches by hand in a dough tub, there’s four things I keep in mind on every mix.

  1. First, focus on incorporating ingredients
  2. Proper hydration takes time
  3. Knead AND Stretch And Fold
  4. There are two types of gluten development

First, focus on incorporating ingredients

Most bread recipes talk about mixing on low speed until the ingredients are incorporated. But what does that mean, really?

You’re looking for consistency. Not a smooth, supple dough – not yet anyway – but consistency. No lumps. No salt crystals. No super dry bits. No super wet areas.

When hand mixing, you get consistency by squeezing. Lionel Vatinet describes squeezing as making tight “OK” signs with your thumb and index fingers and squeezing and pinching your way through the dough.

Giving the dough a series of firm squeezes to fully incorporate the ingredients

I haven’t got the “OK” shape down pat yet, but I squeeze the dough all the same. Here’s how I mix:

  • Put the pre-scaled, warm water in the bottom of your bowl or tub.
  • In a separate container, disperse the salt and yeast throughout your flour.
  • Pour the flour on top of the water. I find this keeps the bottom of the mixing bowl slightly cleaner.
  • With one hand, gently combine the flour and water until you have a rough, shaggy, sticky, uneven mess.
  • Now get both hands in there and squeeze! Take little sections of dough and squeeze it in your hands.
  • Keep grabbing bits of dry dough and squeeze it into the wet areas. Mix and squeeze, mix and squeeze.
  • After a couple of minutes, the dough will still be wet and sticky, but it should be consistent. That is, there shouldn’t be any dry lumps. You shouldn’t be able to feel sharp salt grains when you squeeze the dough. It should all feel equally smooth (but still sticky and wet.)

At this point, clean your hands off as best you can, cover the dough and let it rest for a 20 minute autolyse. Which brings us to the next thing I learned.

Proper Hydration Takes a While

It takes a while for the starch in the flour to become fully absorbed with water. Much longer than I have patience for.

But if you try to develop the gluten before the flour is fully hydrated, you’re just making work for yourself. I imagine the starch is screaming “Just Wait A Minute!” as my dough tears and slimes up when I try to knead too soon.

That’s what the autolyse* step is for. After you’ve got the ingredients all incorporated, give your dough a rest for 20-30 minutes. Give the starch that time to fully absorb water and let the gluten (which is already starting to form) relax a bit.

The flour,water, salt and yeast is all evenly incorporated. Now the dough needs to rest and relax.

When you come back to the bowl, the dough will already be much less sticky and will be easier to knead than when you left it.

*Note to purists: Yes, an ‘autolyse’ is formally defined as just flour and water, without salt or yeast being added. And, yes, the salt is hindering water absorption a bit. And, yes, fermentation is beginning because the yeast is present.

But I find adding the salt and yeast in the beginning makes it much easier to get these ingredients evenly incorporated when hand mixing. Once all the water is absorbed in the flour, I end up with icky salt and yeast pockets no matter how much I hand mix.

Knead AND Stretch and Fold

Maybe this is only a tip for mixing larger batches. But I’ve found that stretching and folding alone isn’t sufficient to properly develop the gluten when I hand mix bread dough.

I tend to hand mix batches that are between 10kg and 14kg (22lbs to 29lbs) which means that the ‘stretch and fold’ technique I share in The Learning Loaf  is tough to pull off. Well, I can’t anyway. Not only is the dough tough to lift in one motion, my table tends to move all over the place. So I’ve modified my technique somewhat.

I start by giving the dough a bunch of folds right in the tub. Just pick up a corner of dough, stretch as best you can, fold it over itself, then punch it down. Grab another corner and repeat. And repeat. And repeat.

After the dough has relaxed for 20 minutes, it will take a big stretch. It only takes one or two of these before the dough begins to tighten again.

After a few of these, the dough will begin to tighten up. It won’t want to stretch so much any more. At this point, I’ll turn the dough out onto my bench and give it the same stretch and fold / knead treatment until the dough is really tight.

Later stretches aren’t as big, as the dough tightens up.

With the dough out of the bowl, give your bowl a good scrape down to get any dry bits out of there. Then spray the bowl with pan spray. Roll your dough ball over, round it as best as you can, an place it back in the bowl. Cover and let rest for 20-30 minutes.

End the stretch and fold session with some firm kneading, as you shape your dough into a ball

After the rest, repeat the whole process again. Stretch and fold and punch, until the dough is tight again.

Compared to a mechanical mixer, I’m being gentler than normal in the first stage (the dough batch is too large to give a good slap down like a single loaf) but firmer than normal with each stretch and fold that follows. In the end, the gluten is properly developed.

But what do I mean by ‘proper development’? Read on!

Two Types of Gluten Development

We do all this mixing and kneading to develop the gluten in the bread dough. That’s the long protein chains that trap gas from the yeast and allows the loaf of bread to rise.

Without gluten, we get a flat, heavy pancake. And without properly developed gluten, we get other, less extreme problems.

Properly developed gluten is both elastic and extensible. Elastic dough springs back when you tug on it, just like an elastic band. If your dough isn’t elastic, it won’t sit up big and tall.

Extensible dough means the dough will stretch out in the first place. Without extensible dough, it would be impossible to roll out a baguette to full length.

The balance between elasticity and extensibility is a key to a great loaf of bread. You want to be able to have a nice tall loaf that will hold its shape. But you also want it to be able to stretch a little without tearing.

When hand mixing large batches of bread dough, I find it’s easy to create elasticity in the dough, but more difficult to create extensibility. So even though good fermentation happens and the final loaf has a good shape, the crumb isn’t always as light and airy as it could be. And the final loaf height isn’t as tall as it could be either. In essence, the tiny gluten balloons that trap gas break before they are fully inflated.

My dough after the first stretch and fold session. Notice the tears and rips on the surface. We’re not done mixing yet. The dough needs to rest and relax before we repeat the process anywhere from 1 – 3 more times.  Don’t despair!  It gets easier at each stage.

When you think about the hand mixing process, especially with large batches, this makes sense. It’s easy to get in the habit of doing more folding and punching than stretching. When confronted with a large tub of sticky dough, my first urge is to make it less sticky. So I fold and punch, fold and punch. But at the same time the dough becomes less sticky, it becomes stronger and stronger, and more difficult to stretch out. So I think “ah, that’s a good mix” and let it rest. But I haven’t really given the gluten the stretches it needs.

So my final lesson is really the the most important one for me to remember me. I need to take my time when mixing and really give the dough a good stretch at the same time I’m folding and punching. Develop the gluten on the stretch out, as well as the fold in, if that makes sense.

I’ll keep you posted on my progress. Please share your lessons in the comments!

Filed Under: Tips & Tutorials

February 13, 2016 by Mark 3 Comments

Learning Loaf 6e: Proof and Bake

This is the latest instalment of our Learning Loaf series.  We’ve talked about ingredients, mixing, bulk fermentation and shaping.  Now we’re going to bake the loaf!

Now that your Learning Loaf is shaped, all the physical work is over.  We only have three decisions left to make:

  1. Proofing: When should I put the loaves in the oven?
  2. Baking: When should I take them out of the oven?
  3. Cooling: When can we eat?

This post will answer all three questions and we’ll answer them quickly.  You’re probably hungry!

Final Proof - 30 min
I see you peeking! Just a little bit longer

Proofing

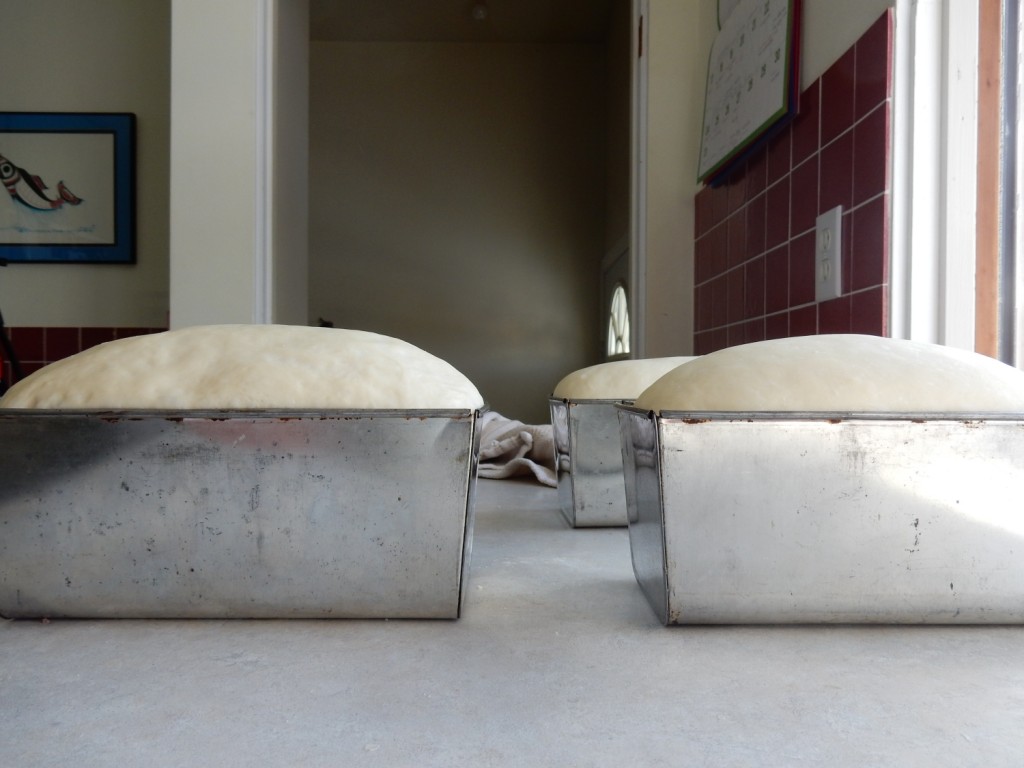
The newly shaped loaf needs to rise in the pan before placing in the oven.  Fermentation is still happening, but bakers call this stage “proofing” to distinguish from the bulk fermentation stage.  (Dough “ferments” in bulk; individual loaves “proof”.)

We want to put the loaves in the oven when they have proofed into the sweet spot – not under proofed and not over proofed.

Judging the proof is important. Under proofed loaves are dense, gummy and difficult to digest.  Severely under proofed loaves are, quite frankly, inedible.  In contrast, over proofed loaves will come out of the oven saggy and pale.  They might even deflate in the oven.  Not awesome.

As the loaf proofs in the pan, it will continue to rise and rise, until the gluten finally breaks down and the loaf will deflate.  Properly proofed dough is near, but still away from the maximum.  Some bakers say the sweet spot is at 80% fully risen.  80% is the number I have in my head when I’m checking my loaves.


Loaves properly proofed
I poked this loaf three times to be sure. Time to bake!

The best way to check proofiness is with a gentle finger poke.  Press the top of the loaf with your index finger and try to sense what is underneath the surface:

  • Under proofed dough will spring back quickly and will feel dense underneath
  • Just right dough will still spring back but will leave the indentation and feel light underneath
  • Over proofed dough will not really spring back and will feel extremely fragile underneath.  If you’re scared it will deflate, it’s close to over proofed.
Final proof - 1hr 10 m
Judging by height is tricky. How much dough in the pan? How big is the pan? Better to give it a poke.

With pan bread, you can also look at how high the loaf has risen above the pan. With a 750g loaf and my mom’s loaf pans, the proofed loaf rises just above the top of the pan.

But loaf height is a poor judge until you have your personal system grooved.  More dough in a smaller loaf pan will look a lot different in an hour compared to less dough in a larger pan.  Use your finger!

With our Learning Loaf, expect the loaf to proof for 1 hour to 1 hour and 15 minutes before baking. 

Load the Oven

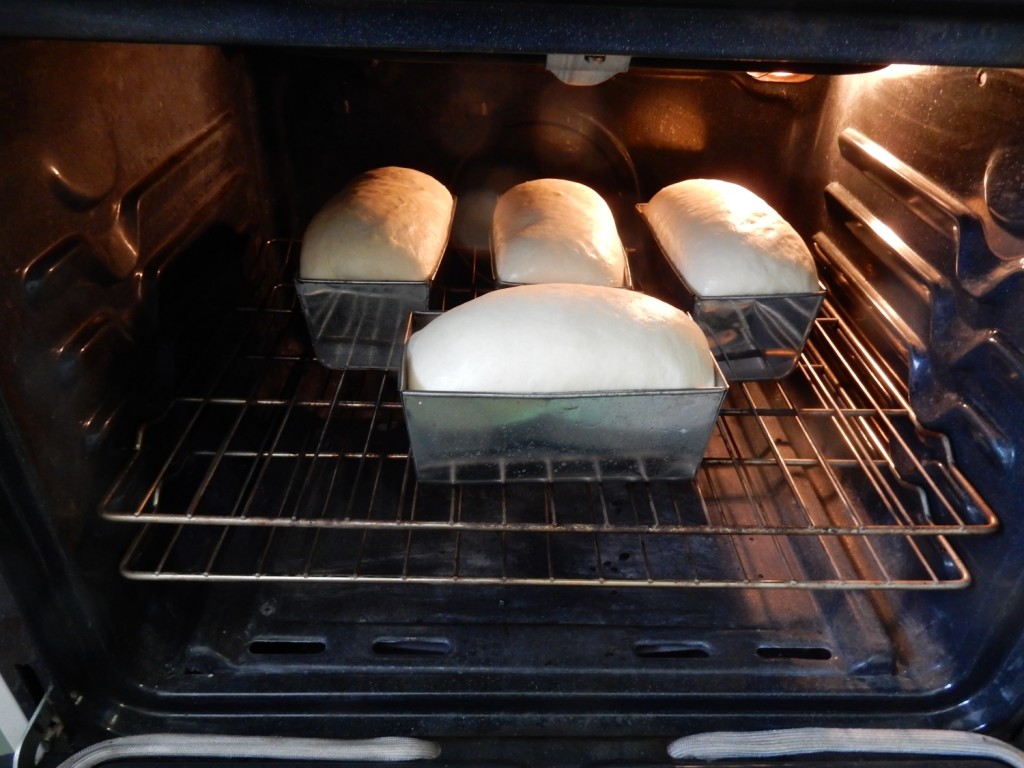
Loaves are in the oven and starting to spring

Preheat the oven to 400F / 205C while the loaf is proofing.  I typically turn the oven on after the first 30 minutes of proofing.

Put the racks on the lower third of the oven.

When the loaf is proofed, place the loaves in the oven.  Give them as much space as possible since the loaves will spring in the oven.

What Happens During Baking?

Baking is actually the final and most active stage in fermentation.  When loaf hits the hot oven, the yeast goes crazy and accelerates the rate of eating and dividing.  The loaf rises and rises until finally, when the loaf reaches a temperature of 130F /54C and the yeast expires.   This rapid rising is what we call oven spring.

Inside the loaf, the starches in the dough begin to gelatinize, forming the crumb.  This begins in the oven but continues after the loaf comes out of the oven.

On the outside, the gluten continues to expand while the loaf springs, but it is also starting to set due the heat of the oven.  There’s a race going on between spring and crust setting; in a perfect world, the crust sets just as the loaf reaches maximum volume.

(This race is why we often add steam to baking chamber – to give the loaf more time to spring before the crust sets.  We’ll talk more about steam when we get to lean doughs in a future course.)

Finally, the loaf starts taking on a rich, golden brown colour.  Sugars in the flour and the enrichments we added combine to give the loaf great colour and flavour.

When Should The Loaf Come Out?

Nice and golden brown. Yum!

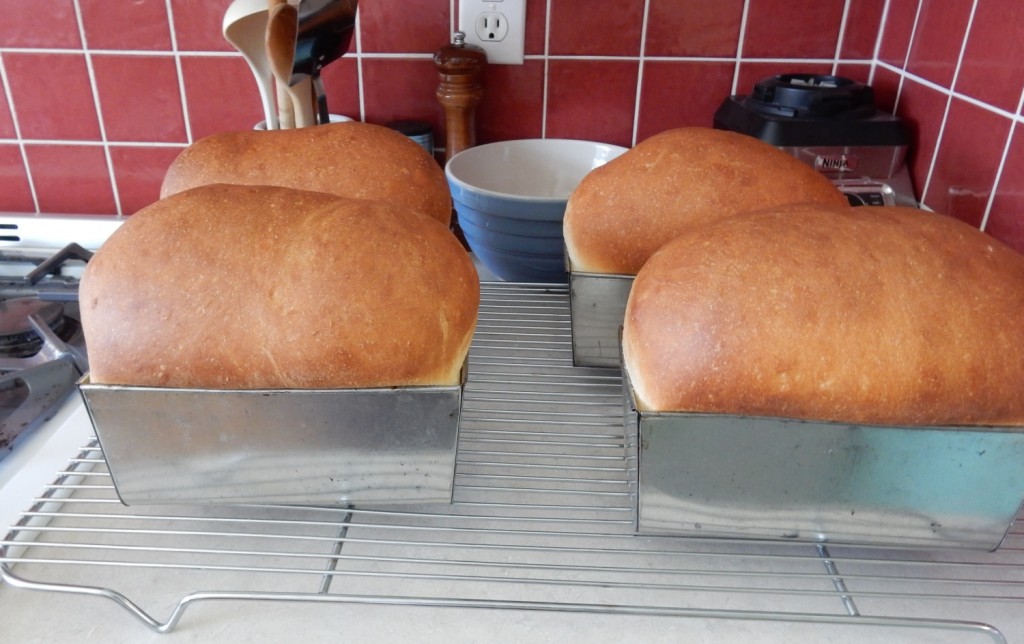
Bake the loaf for at least 30 – 35 minutes.  The top of the loaf will be a deep golden brown.  If you’re concerned that the top is getting too dark, take the loaf out of the pan after 30 minutes and place the loaf back in the oven ‘naked.’  5 more minutes and the sides will be nice and brown too.

Don’t under-bake your loaf!  Good bread needs a full bake.  Pan breads too.  Under baked loaves are gummy and icky in the middle – not good eats.

At 750g, the Learning Loaf is a big loaf, so make sure you bake it all the way.  For sure, keep it in the oven for the first 30 minutes and next time, leave it longer to see the difference.

Let Your Loaf Cool Before Eating

Must. Let. Them. Cool!

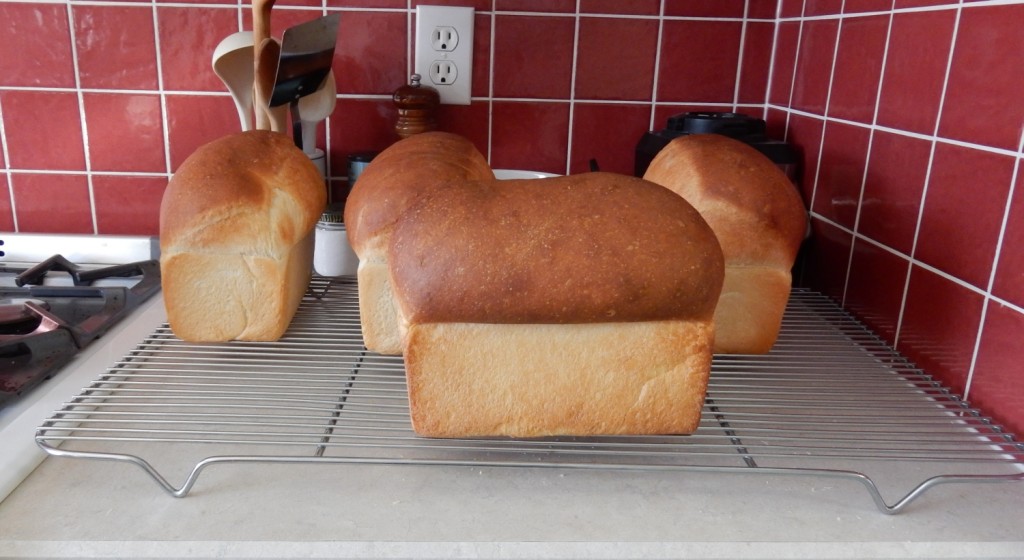
When the bread comes out of the oven for good, remove them from the pans as soon as you can and let them cool on a rack for at least one hour before slicing and eating.

Many bakers call Cooling the final step in the baking process and for good reason.  The bread is still baking even when it comes out of the oven.  The starch in the crumb continues to gelatinize and set.  The crust is still setting up too.

Room temperature bread is easier to digest too, so let it sit!

You Did It!  Way to Go!

If you’ve followed along through the entire series, congratulations!  You made your own awesome bread all by yourself.

Take a break and have a snack.  You deserve it!  May I suggest a peanut butter  and jam sandwich?

In our next installment, I’ll talk about common pitfalls and some variations you can try in your next rendition of the Learning Loaf.

Filed Under: Tips & Tutorials

February 12, 2016 by Mark 2 Comments

Learning Loaf 6d: Divide and Shape

Your Learning Loaf dough has been sitting for 1 hour 30 minutes, rising, strengthening the gluten and developing flavour. Now we need to take a few minutes to shape the dough into nice loaves of bread. The good news is, this step is so quick your cup of tea won’t even get cold!

Check Your Dough: Is It Ready?

First off, make sure the dough has finished the bulk fermentation properly. Depending on the temperature of the dough and the temperature of your kitchen, it may need to sit a little longer.

Under-fermented
Not quite ready. The dough still seems firm to the touch. Try again in 10 minutes!

Gently poke the dough with your finger. If the dough depresses easily and leaves an indent, it’s time to divide.

But hey! Remember that short gluten window right after we mixed? Look how much it’s developed!

If not, let the dough sit for 10 more minutes and try again.

Ahh, that’s better! The dough feels gassy under my finger.

Divide Into Loaf Sized Pieces

Gently pour the dough onto your counter. Using your dough scraper, cut the dough into two equal pieces.

Two equal pieces

The recipe we’re using for the Learning Loaf is for two loaves. So it’s not crucial to use a scale. But if you’re making a bigger batch, or have trouble getting the pieces the same weight, use your scale and get each piece to weigh around 750g. If you need to adjust, stack any small pieces of dough on top of the bigger pieces.

To avoid sticking, push the scraper through the dough quickly using one hand and pull the pieces apart with your other hand.

Pre-shape Each Loaf Into A Ball

Now you have two pieces of dough, but if you’re like me, they are pretty ugly. A few small pieces and one big hunk, as I get the loaf’s weight just right.

Take the corners of the big piece and pull them over any little bits. Turn the loaf over and roll it into a loose ball.

Two loose balls

Repeat with the other loaf, then cover both loaves with a towel and let rest 20 minutes.

What we’ve just completed is the Pre-Shape. We’ve taken a ragged piece (or pieces) of dough and got it thinking it’s going to be a loaf of bread someday. But now it needs to relax before we give the loaf it’s final shape.

Dough is resting, pans are greased and ready.

Why do we Pre-Shape?

The pre-shape is a step that many bakers omit, but I do it every time.

The effort required in dumping your bowl of dough and dividing it is hard on the dough. It’s been hacked into pieces and the gluten is all out of alignment. The dough has also started to tighten up in places where you’ve handled it more roughly.

In a word, it’s uneven. There are soft sections and firm sections, and we don’t want that to show up in our final loaf.

Pre-shaping will get the loaf’s strength consistent again. The rest that follows the Preshape will let the dough relax evenly, so it will be much easier to shape a pretty loaf.

Shape Your Loaves Into Rectangles

While the pre-shaped loaves are resting, get your loaf pans out and spray the insides with pan spray. Be sure to get the sides of the pan sprayed well so the loaves won’t stick to the pan.

Shaping Goals:

I’m going to take you through shaping step by step, but here’s what we’re trying to accomplish while we shape:

  • Remove large air pockets. Pan breads have a tight, even crumb, without big holes. So we’ll want to make sure we press out any large air pockets.
  • Firm, even tension throughout the loaf. Every time we fold or seal a seam, we want to build consistent strength in the loaf. Avoid folding one side firm and one side loose.
  • Create a smooth top. All our folding and sealing is on the bottom of the loaf, leaving a smooth top that will look beautiful when baked.

Ready? Ok! Working one dough ball at a time, we’re going to shape each loaf into a rectangle. Here’s how:

Because there’s butter in the dough, your dough is slightly “non-stick” already. So you shouldn’t need to put flour on the counter. But if your hands are hot and sticky, flour them up slightly.
Turn the dough ball over and pat into a circle.

Flatten the dough ball into a circle

Fold the top third into the middle (like you’re folding a letter) and pat it down.

Top down, like a letter

Fold the bottom third into the middle and pat it down

Bottom up.

Pick up the loaf and stretch the ends gently.
Fold the left side into the middle, slightly overlapping the half way point.

Left side, should be just past middle (I may have messed up!)

Fold the right side into the middle, slightly overlapping the previous fold.

Right side into middle, slightly overlapping my first fold.

Using the outside of your hand, press a furrow horizontally across the middle of the dough.

Moving from right to left, fold the dough over the furrow with your left hand, and press the two ends together with the heel of your right hand. Keep folding and sealing the seam along the length of the loaf.


seam is sealed. Use the counter as resistance to and press firmly with your hand.

Using the heel of your hand, seal the seams on the sides of the rectangle.

Roll the loaf over and, if needed, roll it out slightly to match the length of your pan.

Final loaf, with the seam down

Place the loaf in the pan, seam side down

In the pan. You did it!

Repeat for the second loaf. Cover both pans with a towel and let rest in a warm place.

Practice, Practice, Practice!

So how did that go? Shaping loaves can be a frustrating step, but don’t get discouraged.

I picked a pan bread as the Learning Loaf because pan breads are very forgiving. If you have trouble building good tension in the loaf, the sides of the pan will support the loaf.

Also, pan breads have a tight crumb by design, so you don’t have to be super gentle during shaping.

Of all the steps in baking bread, I love shaping best. I love how, over years of baking every day, my hands have become extremely sensitive to the changes in the dough.

You can train your hands too, guaranteed. Keep baking and keep practicing!

Filed Under: Tips & Tutorials

  • 1
  • 2
  • 3
  • …
  • 39
  • Next Page »
Orange Boot Bakery

Search

Connect

  • Facebook
  • Instagram
  • LinkedIn
  • Twitter
  • YouTube


About • Contact • Login

Copyright: Orange Boot Bakery. Site Created by Mark Dyck